26 February 2024
Top tips for installing laminate.
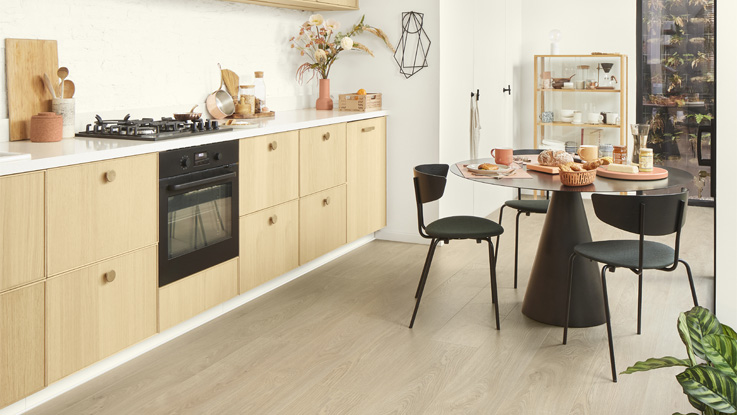
Jazz Sand Natural BerryAlloc
Laminate flooring has been around since the 1970’s and has lasted the test of time. It has come a long way in the last 40 years! Developments in technology now means that most laminate boards have an in built water resistance and can be installed in all areas of the home. Cost efficient, easy to install and incredibly hard wearing; it’s easy to see why laminate is still an incredibly popular choice.
When it comes to DIY installation, there are a few things to consider. In this article we provide some top tips and key information for when installing laminate.
Floor Levels
Which ever room you choose, it is worth considering rooms leading to and from your laminate flooring. Checking the depth of your floor covering before installation will help to ensure your floor levels match. Remember to include underlays, and any additional subfloor. There are a number of different door trims available to link each room. Using a ramp profile will help to connect different levels, but there is a limit as to how much this will cover.
The depth of your existing floor is also worth considering. Choosing a new floor that is the same depth, will help to avoid having to cut into any door architraves.
Subfloor Preparation
It is widely thought that laminate is the best choice for uneven subfloors, but this isn’t necessarily true. It may be able to withstand a minimal amount of undulations but it is important to install on a level, stable and clean subfloor.
The core of laminate is HDF (High Density Fibre) and is usually 8-12mm thick. It is installed onto an underlay (specifically for laminates). This provides a moisture barrier, insulation and helps to cushion the contact pressure during use.
It is always recommended that you read the installation instructions from the manufacturer. This will provide you with all the specifications you will need before installation.
If your subfloor is too uneven, you will need to level and smooth before your installation.
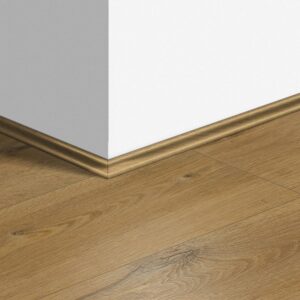
Scotia
Skirting boards and Beading (Scotia)
Laminate requires an expansion gap around the perimeter of the room. This can hidden by installing beading (scotia) or by removing and refitting your skirting boards. If you have already decorated, removing your skirting boards is probably the last thing you want to do. This is where installing beading (scotia) would be a easier alternative. Beading is often available as a colour match to your flooring or in white to match your skirting boards. It is also possible to purchase paintable beading, so that you can match whichever colour you choose.
Moisture
Choosing a laminate with water resistant properties, will help to protect your flooring from water spillage on the surface. This doesn’t ensure that your flooring is protected from moisture from beneath. Laminate is made from HDF (High Density Fibre) which isn’t inherently waterproof. If you suspect damp in your home, it is advised to carry out a damp reading.
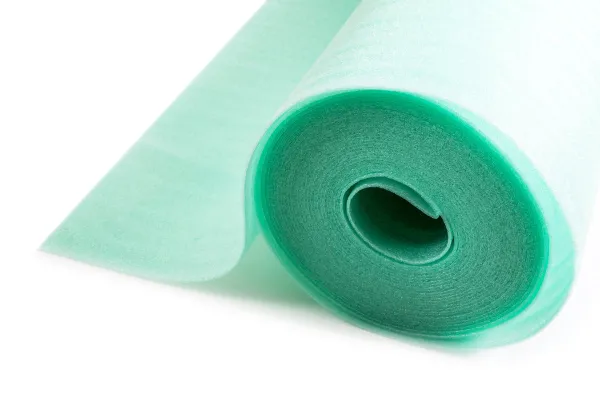
Laminate Underlay
Underlay
As mentioned above, laminate needs to be installed onto an underlay. It is important to ensure the underlay you choose is specifically for laminate. Choosing the incorrect underlay, will result in your floor failing.
Instructions
No matter how many laminate floors you have installed, it always recommended to read the instructions for the flooring your have chosen. Each manufacturer has a unique installation guide and specifications. Better safe than sorry!
Tools
In preparation for your installation, we recommend ensuring you have the following tools:
Tapping Block
Pull Bar
Jigsaw
Chop Saw
Spacers (to maintain expansion gap)
Tape Measure


